Few things are as basic to the baking process as kneading dough. This particular method of preparation is essential for breads and pizzas, among other dishes. It’s also one of the first steps in making homemade pasta from scratch. So whether you’re a novice or veteran baker, it’s not just recommended – but necessary – that you have one of these implements on hand for any time dough is involved!
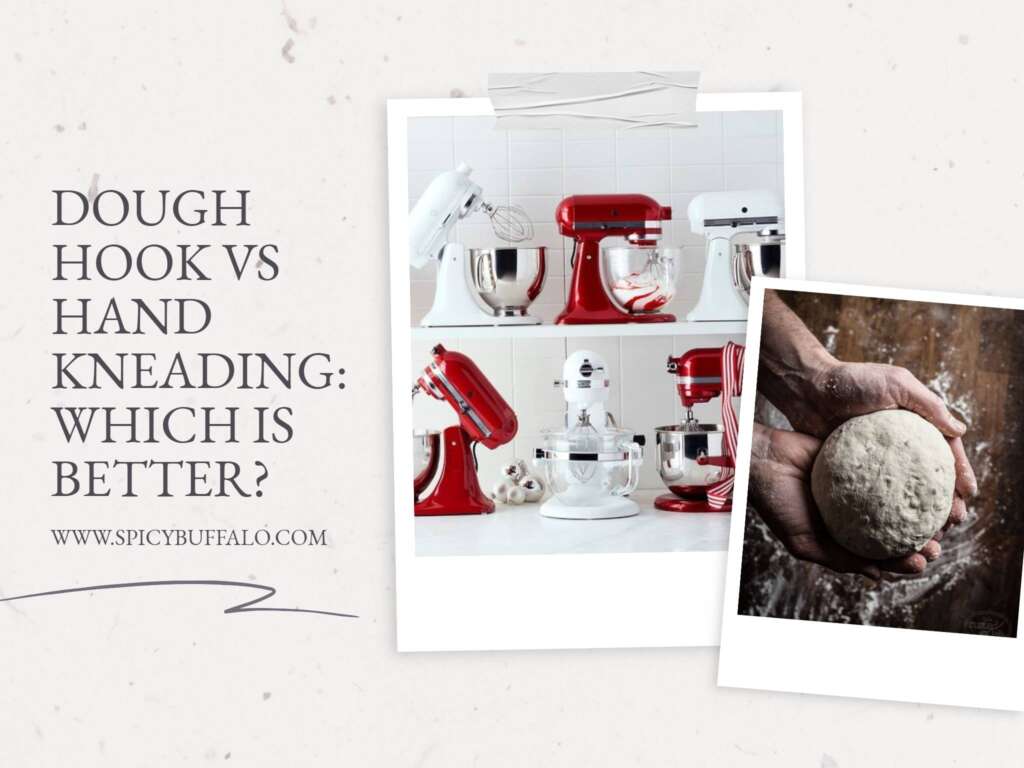
We get it; choosing between a manual dough hook and good old-fashioned elbow grease can be a daunting task! Let us help with this guide: we’ll walk you through the benefits and drawbacks to both approaches, so that all your questions can be answered.
The Advantages:
The dough hook is the superior choice for a number of reasons, not the least of which being ease of use. This tool’s rotating action evenly kneads and mixes ingredients – including gluten and yeast during kneading. It can also be used to pre-knead dough when combined with a stand mixer. The dough hook creates many more action points compared to a standard spoon or silicone spatula, which makes it easily maneuverable while allowing you to keep your hands free.
The Disadvantages:
Though it is a better choice, there are still a few cons to using a dough hook. It will only knead dough when it’s in motion, so you must use a mixer that includes a dough hook setting. This means you must own one of these appliances (which can be costly and take up precious countertop space). The other catch is the speed with which the dough hook works; many owners have complained about its inability to cleanly mix ingredients in traditional recipes that require hand-kneading – this mainly happens on heavier doughs. This is why it’s recommended that you always purchase a mixer that includes a dough hook, even if you own a bread machine.
The Hand-Kneading Method:
This option is great for those who enjoy the exact degree of control that kneading by hand has to offer. The speed at which this method works will vary from recipe to recipe. You must knead the dough to perfection before it rises (always chucking some water or flour into the mix), but it works great when done correctly! This option also requires less counter space than many other appliances, and can be used with any food following an authentic Italian culinary style.
The Advantages:
Hand-kneading the dough allows for a far more thorough mixing process. It also makes it easier for you to add in additional ingredients, such as olives or additional spices – you can even shape and fold the dough into the style and form of your choosing. The best part is that this method is completely free! You don’t need any special equipment, which makes it ideal for those on a budget. This option works well with recipes that require lengthy kneading periods – no matter how expensive (or cheap!) your mixer is.
The Disadvantages:
As mentioned earlier, there are two main downsides to this approach. First, you need to use a lot of elbow grease – even more than with a dough hook. This can be exhausting, especially if you plan on kneading for extended periods of time. The other disadvantage is that you’ll need a kitchen scale, as it’s much more difficult to properly measure the ingredients when working by hand.
There’s no way to tell which method is superior without trying them out themselves! That said, we’re confident that most readers will agree that the dough hook is the superior option here. It does require more effort than kneading by hand, but it can work when using a stand mixer or with a bread machine. We say go for it!
One of the most challenging tasks in a baker’s life is kneading dough. It is a time-consuming process that can often result in tears and frustration, but the results are well worth it. Not only does the dough end up tasting better, but it will also have a better texture and rise higher than if you simply used your hands to mix ingredients.
If you have found yourself seeking out methods to make this process easier, then there are a few things that you must understand before deciding which method is best for you.
As far back as the 14 th century, when “domestic bread” was first being made, both hands and tools were used to knead the dough. The tools that were first invented then were often spatulas made of wood or cows’ horns.
If you look down at your own hands, you will find rows of bones in your fingers (28 to be exact). These bones provide structure to our fingers and allow us to move them with relative ease. However, when we begin mixing the dough, these bones become a liability because they can easily bruise the dough: bruising it beyond repair.
This is especially true when using a high protein bread flour like King Arthur All-Purpose Flour. This is why most professional bakers either use a dough hook or an electric stand mixer. However, for those of you who don’t have these types of appliances, the next best thing is to use your own hands.
When using your hands to knead the dough, make sure that you are careful not to bruise it and that you keep the same tension throughout the entire process. Make sure that your hands are clean before beginning and keep them coated with non-stick cooking spray (like Pam) throughout.
Most people do not know this little bit of information, but when kneading bread dough (or any kind of bread product), it is important to make sure that you finish with a smooth surface. When the surface of the dough is under-mixed, when you roll it out to form your loaf, it will not be able to rise properly.
This has two effects: First, the piece of bread that you are shaping into a loaf will fall apart as soon as it comes out of the oven. Second, if you leave the surface under-mixed with air bubbles (which can happen because the kneading process is hard on your hands), then when you bake and form your loaf in a pan and place it in a preheated oven, it will quickly become vulnerable to developing holes.
You can avoid both of these problems by kneading each and every last bit of dough.
When you are finished, you can either let the dough rest for ten minutes and then proceed with your baking or cover it with a cloth and place it in the refrigerator until you are ready to use it.
While this is probably not something that you need to think about, kneading yeast dough (bread dough made with only yeast) can be difficult. It is especially difficult if the yeast is old (it will start to sprout long white hairs) or if you have not recently fed your starter with flour.
For this reason, I would have no hesitation in recommending that you try either a dough hook or an electric stand mixer for making this type of bread product.
When kneading yeast dough, try to make sure that you are using a flour that is high in gluten . This will ensure that the dough will have a higher yield and be easier to shape into loaves.
Also, when kneading yeast dough, make sure that you are not adding any oil or butter. These two ingredients will actually inhibit the growth of your yeast and can cause some very annoying consequences (like a loaf of bread that refuses to rise).
If you want to add any herbs or spices to your dough (to create garlic bread with cheese or bagels with cinnamon), simply mix up the ingredients in a separate bowl and then roll them into little balls before placing them in the middle of your kneaded dough.
When you are finished kneading your dough, let it sit on the counter to rise for at least 20 minutes. Then brush off any excess flour and proceed with shaping your loaves. To save time, you can also bake these loaves directly in the form of a loaf of bread: make two loaves and place them on a cookie sheet and cover them with either parchment paper or dust them with baking powder (which is also great for rising breads). Then place the cookie sheet in a 200-degree oven for about 15 to 20 minutes. This heat will also help your loaves rise.
While you are waiting for your breads to bake, make sure that you use a non-stick cooking spray to coat each loaf before placing it in the oven. This will prevent them from becoming over-browned, which would ruin the fresh appearance of your bread!
Overall, there are no real negatives to kneading by hand (unless you have extremely poor hands). While it takes a bit more time, it is well worth the effort.
How do you know when to stop kneading dough?
When you know how to knead bread dough by hand, you need to know when to stop. This is the difficult part. If you continue kneading the dough too long, then it will become drawn out and impossible to work with. “It becomes hard and unworkable.”
If this happens, then you should begin again from scratch and try again. However, if your dough is still working well (it is soft and pliable and doesn’t fall apart), then keep kneading it until either you feel satisfied (it’s done) or for about 5 more minutes if you’re not satisfied with the results that you have achieved so far.
How can I make my bread lighter and fluffy?
Luckily, there are several ways to do this. The best way is by simply adding more flour to the dough. For instance, if you want a lighter bread, then you can try the following:
– Use half as much yeast as you would use for a normal bread recipe.
– Reduce the amount of water used in your recipe by half.
– Increase the amount of flour by 25%.
– Then knead it for an additional 10 minutes (or until golden brown).
Why is my homemade bread so heavy?
If your bread is heavy, then it is because you have added too much yeast to your dough. The easiest way to fix this problem is by using a smaller amount of yeast (half as much). It will still rise and have the capability to keep its shape but it won’t be so dense or heavy.
Why do you not use a stand mixer when kneading bread?
You can use a stand mixer when making yeast breads, but during the kneading stage of preparing your dough, I don’t recommend using one. This is because a lot of the dough will fall off of the hook (it will get stuck) and then you will have to stop, clean it off, and then continue kneading. For this reason, I recommend doing the kneading by hand. It requires more energy but it is more worth it in the long run.
Why do you not use any extra ingredients when making bread?
There are lots of story-telling things that people do when they are making bread. They use lots of different herbs and spices to give their products a unique taste and smell. However, it is not necessary to add extra ingredients. You can use just plain flour if you wish. Nothing is better than homemade bread!
What should I do when my bread smells funny?
There are very few things that will smell bad during the kneading process, but the two that I can think of offhand are sourdough and baking soda. If you notice a distinct foul scent, then it is probably because your yeast does not want to work properly; you should try to start over with a new jar of yeast or try again with a new batch of dough. The other two things that may cause this problem are your starter and the fact that you have added too much salt or sugar to your dough.
Why is my no knead bread so dense?
There are several reasons for this. The first is that you have added too much yeast to the dough (which is why you should start with half as much). The second reason is that your dough was kneaded for too long (you should keep a watch out for when the dough is starting to become very tight and stiff).
What does it mean when my bread does not rise?
It means that your yeast doesn’t want to work properly, so you have either over-cleaned the jar of yeast you are using or it may simply be that your starter needed more time to work (fewer than 24 hours old).
CONCLUSION:
The experience you will obtain when making bread at home is unlike anything you have ever felt before. Although it is not something that you should start just by going to the store and buying a loaf of bread, I hope that you will at least give it a try! Make sure that you follow instructions carefully and do not be afraid to ask for help. The more practice you have, the better your bread will taste! I hope this information has helped to answer all of your questions about kneading dough by hand.
