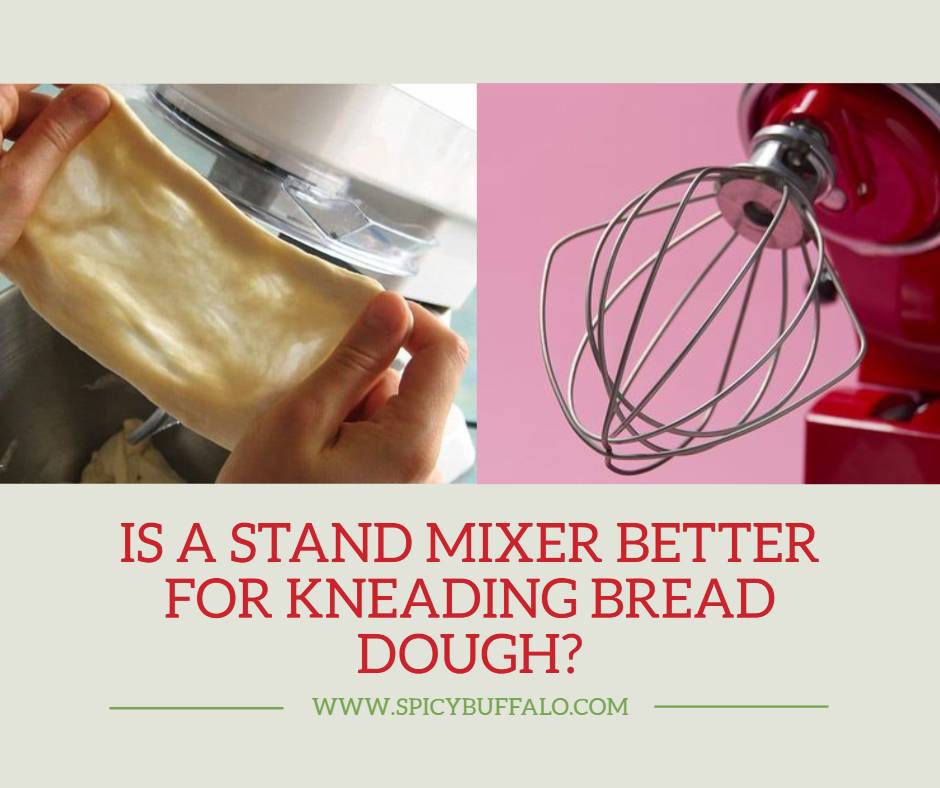
This question is one many cooks struggle with when deciding whether to purchase a stand mixer or a hand mixer. The answer, like most, is nuanced. A hand mixer will allow you to affordably mix the dough in a wide variety of bowls from different manufacturers. However, it will take longer and require more elbow grease than the stand mixer would if you have been willing to invest in one.
The other obvious benefit of the stand mixer is that it doubles as an excellent way to knead dough for those who don’t want to break out their hands for hours on end. This can be especially useful for those with carpal tunnel or those who work full-time and find it difficult to squeeze in time at night before bed.
But, does the difference in speed of a stand mixer make up for the fact that it is more expensive than a hand mixer? The answer to that question is dependent upon the type of bread you are making. If it is a traditional, yeasted, loaf-style bread then yes, hands down a stand mixer is better. Measuring flour by volume and mixing dough by hand can be quite time-consuming. With a stand mixer, you simply have to dump everything into the bowl and let it run on medium to high speed for about ten minutes before turning out onto your countertop to knead by hand.
However, if you are making a no-knead bread dough or a quick rising bread dough then the answer to this question is less clear. While it will save you time and energy over hand kneading and doesn’t produce the same type of ‘worked over’ texture as hand kneading does, it will not save you any time overall in the preparation of your bread dough. In fact, it might actually take longer. This is because those recipes require you to preheat the oven so that there is a warm place for your dough to rise once you have shaped it.
In addition, many of those recipes require you to do the first rise in the refrigerator which means you will need to plan ahead and get up early to shape it before taking it out of the refrigerator after allowing it to come to room temperature for about an hour. Depending upon the length of time before you are able to put your bread into the oven, this could make for one very long day from start to finish.
The real question is whether or not you have time and patience. If not, then a stand mixer is definitely a better choice. If you have both then a hand mixer will probably suit you just fine.
Kneading bread dough is a complicated process that involves pushing and pulling the dough, which works your hands and arms. If you have arthritis or any other condition that makes it difficult to use your hands, baking bread might not be for you—or it may require some help from a friend or family member.
Is a stand mixer better for kneading? The answer is maybe! While many people feel that their stand mixer does in fact make their bread easier to knead than their own two hands ever could, others have found that it creates too much gluten in the dough, inhibiting the yeast’s ability to create enough CO2. The result is a tough, chewy loaf that can be over-toasted or under-fermented and possibly even under-caramelized.
Using a stand mixer to knead dough is just not for everyone, so if you’re one of those people who would rather use your hands, here’s some advice for getting the job done properly on your own “stand”:
1. Wear something that feels good when you get tired (not like office work) and let your hands cool down afterwards.
2. Use the appropriate amount of flour so that your hands don’t stick to the dough.
3. Wrap your hands in plastic wrap for a few minutes to keep them from getting cold.
4. Try kneading with one hand at a time to reduce stress on your wrists and forearms.
5. Take breaks to let your hands rest and regain feeling, if needed.
6. Avoid overkneading – you only need enough to combine the dough ingredients.
7. If you’re using a stand mixer, turn off the machine before adding flour so that you can add it yourself by hand or use a spatula instead of an attachment if necessary (like when adding fruits or nuts).
8. If you must use a stand mixer to knead, turn it on low and let the dough go for about five minutes (and add flour as necessary, if needed), and then stop the machine.
9. Don’t try to overwork the dough – the gluten will bond too much and you will end up with tough bread unless you keep adding flour.
10. Make sure everything is cold before starting – this will help to keep your hands from being tired and sweaty while kneading (you may even want to wear a pair of socks underneath your nylon kitchen gloves).
11. Use a sharp knife or other sharp object when cutting bread dough, so that your wrists are protected from unexpected accidents!
12. Don’t try to knead sticky dough. If it’s really hard to work with, try adding a tiny bit of oil (even if the recipe doesn’t call for it).
13. Use a pastry scraper (or the handle of a wooden spoon) if necessary when cutting open large fruit or vegetables to make sure you don’t end up making any messes.
14. Let your dough rise in a warm area – use your oven if possible and close the door for about 30 minutes after you turn it on (don’t turn it off until your oven is cool again).
15. When it’s time to shape the dough, pull it down and make a ball instead of pushing it.
16. Be sure to cover it with plastic wrap after kneading if making bread in the morning and again if you’re going to let it rise overnight (unless you want a beautiful crust on the outside but soggy insides).
17. Once your dough is ready, make sure your kitchen is clean, as flour will stick and cause issues (though you can let some of your overnight-risen dough stay on the counter if you want).
18. Don’t try to stretch or incorporate air into your dough by repeatedly adding flour – this is just not necessary for pizza dough or bagels, for example.
19. If your dough is very sticky, break off a small piece before trying to work with it (or use a kneading board if necessary).
20. When you’re ready to shape the dough, place it on top of the machine and let it slowly rise in the mixer while you shape the other half of your dough.
21. Shape and set aside your dough as dictated by your recipe (try not to get too crazy with shaping – baguettes are still pretty easy to make in a traditional wood-burning oven or pizza stone), and repeat for another batch when you’re ready for more bread!
22. Make sure you’re using the right kind of dough, and if necessary, adjust the dough’s consistency with a bit of flour, water or oil.
23. Make sure your oven is at the right temperature – too low and you’ll never get to caramelize your loaf (and it probably won’t rise correctly, either). Too high and your bread will burn on the outside before it even gets a chance to rise!
24. Wait for the oven to preheat before putting your loaf(s) inside (or use a proofer if necessary).
25. Approximately 20 minutes before the end of baking time, close the oven door behind your loaf to get an even dark crust.
26. When the bread is done, do not open the oven door until it’s cool enough and you’re ready to remove it or let it cool a touch in the oven – this will allow for even cooking and ensure that every part of your loaf is cooked through. Keep in mind that you can also use a steam stone (or just a rack above heated water in your oven) to keep your loaf from overbrowning.
27. Once removed from the oven, let cool for several minutes (longer if you have leftovers).
28. Cut off the ends and eat!
29. Enjoy your delicious, homemade bread!
There is almost nothing more delicious than fresh, ripe fruit. It’s also likely that there’s no better way to get some of your vitamins and nutrients at one time than in a mouthwatering slice of homemade fruit-filled bread.
If you’d like to learn how to make fruit-filled loaves, check out this chapter. We’ve included an assortment of recipes (for banana bread, blueberry bread and more) including the basic techniques you need to know for making these types of recipes on your own.
Is it better to knead by hand or mixer?
Whether you should use a mixer or your hands is really a matter of preference. Many people feel that hand-kneading allows them to get a better feeling for the dough and allows them to feel the proper consistency. However, if you want to make larger quantities of dough at home (and don’t have the patience or time) then using a mixer is probably your best option. If you do use a mixer, try moving your dough to an area on your counter where you have more room and can knead it with your hands.
How wet should my dough be?
In general, the less water you use in a recipe the better. A rule of thumb is that if your dough is too sticky to work with, then it’s too wet and you will need to add some more flour. Try adding flour in small amounts – even 1/4 of a cup at at time – until the mixture becomes easier to work with. Remember that if you add too much flour, then your dough will become incredibly dry and not plump up very well when baked.
Can I knead dough by hand instead of a mixer?
Yes, absolutely! This is one of the most basic recipes in this book – it’s just flour, salt and yeast – and it’s a great opportunity to practice your hand-kneading skills. Make sure you stick to the rule of thumb above – if your dough is too wet to work with, then add some more flour.
What do I do if my dough is too sticky?
If your dough is incredibly sticky and hard to work with, try kneading it on a floured surface or using a bench/kneading board. You can also dust your hands with flour before kneading, or add more flour until you get the consistency that works for you.
Is using a dough hook the same as kneading?
Yes and no. A mixture of one part flour, three parts water, salt and yeast is all you really need for basic bread dough. However, if you’re making your dough in a mixer with a dough hook, make sure the paddle is completely submerged in the mix or it will go flying around the bowl and make a mess everywhere. If you notice that your paddle isn’t getting wet enough (which means it’s not kneading), try adding some more water.
Can I freeze my bread? How do I thaw it out?
Yes, you can freeze most types of homemade bread recipes – just be sure to wrap them well! Most recipes will take about 10-15 minutes to thaw on the counter. Be sure to plan ahead! To speed up the process, you can place a pan of boiling water on your counter (or use a microwave oven), and then cover it with a dishcloth or piece of wax paper to keep the heat in.
Does a mixer replace kneading?
No, a mixer just helps you get the job done quicker, and it’s invaluable if you want to make a large amount of dough at once (or if you don’t want to break your wrist from kneading). If you want to make sure that your bread turns out perfectly and evenly, it’s best to knead your dough by hand.
Do I need salt in my bread?
Salt does more than just taste good – it also helps keep the yeast alive and gives the yeast something to feed on. However, the salt content in this recipe is pretty low and should not be noticeable. You can leave it out if you prefer a lighter-tasting bread.
CONCLUSION:
Now that you’ve made it through this entire book, congratulations! You’re now on the road to becoming a true baker. Here are a few final tips to help you get started. There’s nothing better than homemade breads and cookies that were made with love. If you can bake from the heart, then your final product will be truly delicious. It’s important to remember that baking is a process and that the best things come to those who wait (with patience). If your first batch of cookies comes out completely burnt, then don’t give up! Try again, try another recipe and keep trying until you find something that works for you.
