If you own an Instant Pot Air Fryer and have encountered problems while using it, you may be looking for solutions to get it up and running again. In this article, we’ll explore the various issues that may arise with your Instant Pot Air Fryer and provide you with a step-by-step guide on how to troubleshoot it. We’ll cover common problems, how to understand error codes, how to check for loose connections and damaged wires, how to reset to factory settings, how to clean and maintain your air fryer, how to update the firmware, how to replace faulty parts, and specific tips for certain models. So, let’s dive in and fix your Instant Pot Air Fryer!
Common Problems Faced While Using An Instant Pot Air Fryer
One of the most common issues that Instant Pot Air Fryer users face is that the device won’t turn on or heat up. This could be due to a loose connection, faulty power supply, or malfunctioning heating element. Other issues may include uneven cooking, overcooking, undercooking, or burnt food.
If you find that your food is not cooking evenly or that it’s overcooked or undercooked, the problem may be with the temperature settings. You’ll need to adjust the temperature or cooking time to fix this issue. If your food is burnt, this may be due to overcooking or a malfunctioning heating element. In this case, you’ll need to replace the heating element.
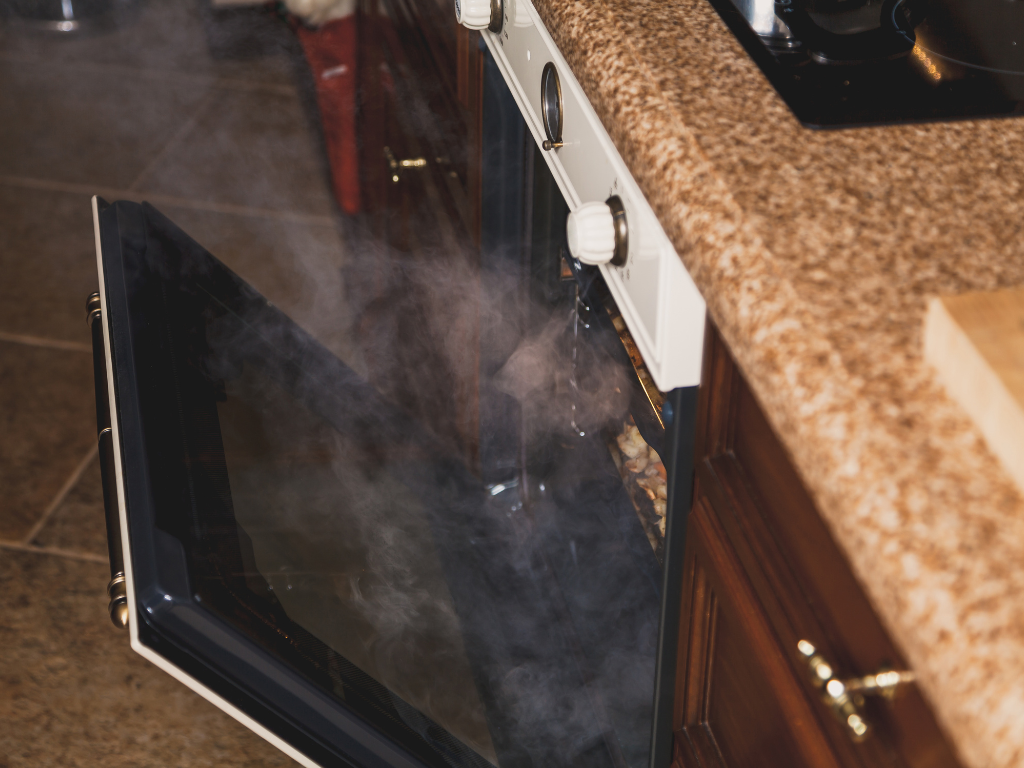
Another common problem that Instant Pot Air Fryer users face is that the device emits a burning smell during use. This could be due to food debris or oil residue left in the device, which can burn and cause a foul odor. To fix this issue, you’ll need to clean the device thoroughly before using it again.
Additionally, some users may find that the device produces a lot of smoke during use. This could be due to the type of food being cooked or the amount of oil used. To reduce smoke production, try using less oil or cooking foods that are less likely to produce smoke, such as vegetables or chicken.
Understanding The Error Codes On Your Instant Pot Air Fryer
If your Instant Pot Air Fryer is displaying an error code, it’s important to understand what it means in order to troubleshoot the issue. Each code corresponds to a different problem with your device, and you’ll need to consult your user manual to find out what each code indicates.
For example, if your air fryer is displaying an E1 error code, this means that there is a problem with the heating element. On the other hand, an E2 error code indicates a malfunctioning temperature sensor. Once you know what the error code means, you can take steps to fix the issue.
It’s important to note that some error codes may require professional repair or replacement of parts. Attempting to fix certain issues on your own could potentially cause further damage to your air fryer or even pose a safety risk. If you’re unsure about how to proceed with troubleshooting an error code, it’s best to contact the manufacturer or a certified repair technician for assistance.
Step-By-Step Guide To Troubleshooting Your Instant Pot Air Fryer
If your Instant Pot Air Fryer is not working, there are several steps you can take to troubleshoot the issue. Here’s a step-by-step guide:
- Check the power supply: Ensure that your air fryer is plugged in and the power supply is switched on. If the outlet is working fine, try using a different outlet to plug in your device.
- Check for error codes: If your device is displaying an error code, consult your user manual to find out what the code means, and take appropriate action to fix the issue.
- Check for loose connections: Remove the cooking basket and check for loose connections, especially around the heating element. Tighten any loose connections.
- Check for damage to wires: Check the wires for any signs of damage, such as frayed wires or exposed wires.
- Reset to factory settings: To reset your Instant Pot Air Fryer to factory settings, press the menu button until you reach the “Reset” option. Press the start button to reset the device.
- Clean and maintain your air fryer: Follow the cleaning and maintenance instructions in your user manual to prevent malfunctions and prolong the life of your device.
- Update firmware: Visit the Instant Pot website and download the latest firmware for your air fryer. Follow the instructions to update the firmware for optimal performance.
- Replace faulty parts: If you find that the heating element or any other parts need to be replaced, refer to your user manual for instructions on how to replace them.
Checking For Loose Connections And Damaged Wires In Your Instant Pot Air Fryer
If your Instant Pot Air Fryer is not turning on or heating up properly, the first thing you should do is check for loose connections and damaged wires. This could be the cause of the problem. Remove the cooking basket and examine the device carefully. Look for any loose connections, especially around the heating element. Also, check the wires for any signs of damage, such as frayed wires or exposed wires. If you find any issues, tighten the connections or replace the damaged wires to fix the problem.
How To Reset Your Instant Pot Air Fryer To Factory Settings
If you’re experiencing problems with your Instant Pot Air Fryer, resetting it to factory settings can sometimes resolve the issue. Here’s how to reset your air fryer:
- Press the menu button until you reach the “Reset” option.
- Press the start button to reset the device.
After resetting the device, check to see if the problem has been resolved.
Cleaning And Maintaining Your Instant Pot Air Fryer To Prevent Malfunctions
Cleaning and maintaining your Instant Pot Air Fryer is crucial to preventing malfunctions and prolonging the life of your device. Here are some tips:
- After each use, wipe down the device with a damp cloth to remove any food residue.
- Clean the cooking basket and tray with soap and water after each use.
- Once a month, deep clean your air fryer by soaking the cooking basket and tray in hot water with dish soap. Rinse and air dry.
- Check the air inlet and outlet vents for any obstructions and clean them as necessary.
- Do not use abrasive cleaners or scrubbers on your air fryer, as this could damage the non-stick coating.
- Store your air fryer in a cool, dry place.
Updating The Firmware Of Your Instant Pot Air Fryer For Optimal Performance
Updating the firmware of your Instant Pot Air Fryer can improve its performance and fix any bugs or glitches. To update the firmware, visit the Instant Pot website and download the latest firmware for your air fryer. Follow the instructions to install the firmware onto your device.
How To Replace Faulty Parts In Your Instant Pot Air Fryer
If you find that your air fryer is still not working after trying the above troubleshooting steps, you may need to replace faulty parts. Consult your user manual for instructions on how to replace parts, such as the heating element, fan, or temperature sensor. You can also contact customer support for assistance.
Troubleshooting Tips Specific To Certain Models Of Instant Pot Air Fryers
Some models of the Instant Pot Air Fryer may have specific troubleshooting tips. Refer to your user manual for model-specific information on how to troubleshoot your device.
Frequently Asked Questions About Troubleshooting An Instant Pot Air Fryer
Here are some frequently asked questions about troubleshooting an Instant Pot Air Fryer:
Q: Why is my air fryer not turning on?
A: Your air fryer may not be turning on because of a loose connection, faulty power supply, or malfunctioning heating element. Check for these issues and take appropriate steps to fix them.
Q: How do I reset my air fryer to factory settings?
A: To reset your Instant Pot Air Fryer to factory settings, press the menu button until you reach the “Reset” option. Press the start button to reset the device.
Q: What should I do if my air fryer is displaying an error code?
A: Consult your user manual to find out what the error code means, and take appropriate action to fix the issue.
Q: How often should I clean my air fryer?
A: After each use, wipe down the device with a damp cloth to remove any food residue. Once a month, deep clean your air fryer by soaking the cooking basket and tray in hot water with dish soap. Rinse and air dry.
Q: Can I replace parts in my air fryer?
A: Yes, you can replace parts, such as the heating element, fan, or temperature sensor. Refer to your user manual for instructions on how to replace parts.
Contacting Customer Support For Further Assistance With Your Instant Pot Air Fryer
If you’ve tried all the troubleshooting steps and your Instant Pot Air Fryer is still not working, you can contact customer support for further assistance. Refer to your user manual for contact information or visit the Instant Pot website for support options.
We hope this guide has helped you troubleshoot your Instant Pot Air Fryer and get it up and running again!

